Tank repair . . . attempt
After some searching around the interwebs, I found out that some people use a silver based solder to do basic tank repairs. The nice thing about this is that it doesn't require as much heat as brazing so you can just use a propane torch. It's fairly cheap, so I picked up the supplies and gave it a try.
I chose a smallish dent on the side of the tank for my first attempt. It was previously filled with a bunch of JB Weld.
I rested the tank on its side, brushed on some flux, and heated up the dent. Then applied the solder.
I ground it down with the Dremel and then sanded it smooth. Its hard to tell from the picture, but it turned out pretty well. So I moved on to the pitted and pin-holed front section of the tank.
That didn't go well for a few reasons. Some of what I thought was pitted metal was more JB Weld. While trying to heat up the metal I actually burnt away a bunch of it. So now I have more holes. Once I got the metal heated up the solder didn't want to flow into the dents or build up to cover the holes. It wanted to form a useless, giant ball of molten solder which would run off the side of the tank and/or run through the hole into the tank. Before it cooled I would try to spread it out with a piece of wood, but that didn't really work either. When I moved on to fill the next hole I would reheat, and undo, the work I had already done. I need to rethink my technique. At least I did a good job on the first dent.
Tank Investigation
I figured it was time to see what shape the tank was really in. POs have bondo'd, JB Welded, and painted in various places so it was a mystery as to what might lie underneath. Some places were already flaky and I could just scrap chunks off with a flat head screwdriver.
It's hard to see in this picture, but there is a small dent that had been filled. I grabbed a sanding pad to see if I could uncover some good metal.
Oh no, what terrible rust covered dent resides under this blob of JB Weld?
No rust or dent at all! Puzzling.
As I worked away from the front of the tank things looked better and better. I decided to get out the chemical stripper to see if I could make some real progress.
I was really encouraged after the chemical strip. I then went at it with a sanding pad.
This is what it looked like after only a few minutes of sanding. I plan on doing a lot more, but things were looking pretty good. Pretty good until . . .
D'oh. I punched a hole while scrapping rust off with a screwdriver. My plan is to use a torch and some brazing rods to fill in any pitted areas, dents, and this hole (and any other holes I manage to make) to try and get the best possible base on which to do body work and paint. Brazing, body work, and paint. Three things I've never done before. I've got some research to do.
Kickstart
The parts I needed to install the kickstart showed up in the mail. The kickstart lever itself came with the bike, but the kickstart boss was broken and I was missing the washer, snap ring, spring, and ball. The lever is a little beat up, but it'll get repainted eventually.
Look how "smushed" the old boss was.
Assembled.
Installed.
Painting the Exhaust
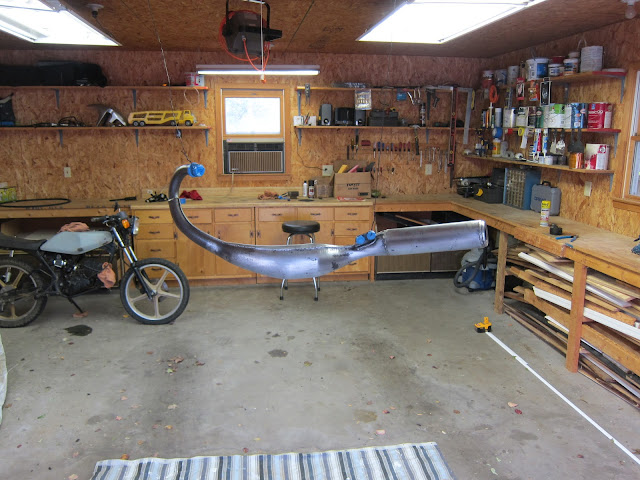
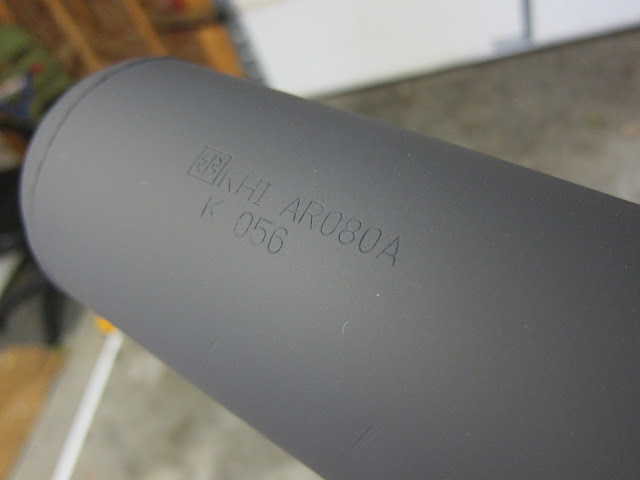
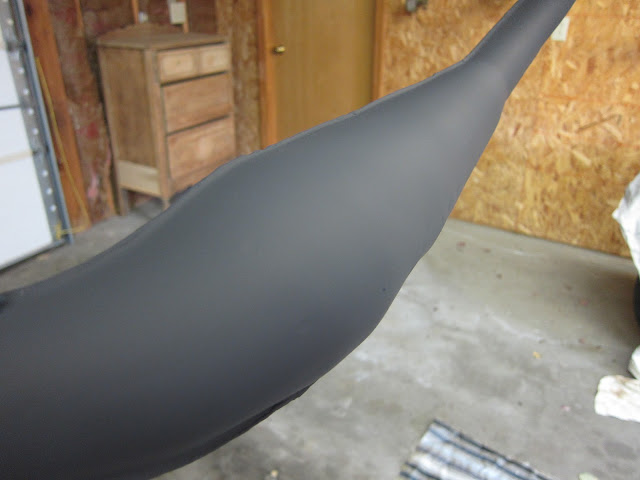
Got the first coat of paint on the exhaust. I did a few thin coats every ten minutes or so. The can says to then let it sit for a week before applying more coats (which I will probably do).
I also cleaned up some of the exhaust hanger and flange parts. I let the rusty ones sit in a bath of Krud Kutter, which cleaned them up pretty well.
Subscribe to:
Posts (Atom)


