The Tail: Frame prep continues


Since I'm going to be ditching the stock licence plate bracket, turn signals, and grab bar, I've got a bit of clean up to do on the tail of the AR80's frame.


This is one of the passenger grab bar brackets.


And this is where the stock licence plate holder bolts on.


I finally have a chance to use one of my Christmas presents.  A Bosch 4.5" angle grinder.


This should be just a bit faster than my Dremel tool with a cut off wheel.


Yep, I zipped these things off in no time.


Better.


I pulled the plastic bar ends out of the frame.  I don't want to melt them when I cut off the licence plate bracket.  I have a plan for them.


Nice.


Cutting off useless frame parts is almost as satisfying as deleting useless source code.


That is looking nice and tidy.  But what about those bar ends?


My plan is to insert these Supernova LED turn signals (from Revival Cycles) into the frame using the stock bar ends.


They are just about the perfect size.


I'll drill a whole through the bar end, and then fish the wire through the frame.


Hole drilled.


Bar end LED turn signal constructed.


Make that a pair.


Then I drilled holes in the frame to fish the wires through.


It wasn't too hard.  I stuck a piece of electric fence wire through first, taped the wire to it, and then pulled it back through.

Note: There is literally nothing electric fence wire can't do.


I didn't push the bar ends all the way in because they are kind of a pain to pull back out.  I'll wait until final assembly to put them in for good.  But this gives an idea of how it'll work.


I think they'll look pretty good once the frame is black and they are pushed all the way in.


The next things to eliminate are the forward grab handle bolt holes.  I won't be using them, so they must go.


I am not a welder.  But I did manage to fill the holes with metal using a welder.


But let me stress, I am not a welder.


A couple of weld and grind sessions later, the holes are gone.  I welder would only need one session.  I am not a welder.


The little divots that remain will disappear when powder coated.  Not a welder.


Mommy and baby got home before I had a chance to finish grinding everything down smooth, but still, I am pretty happy with the progress.  There are a few more things to take care of on the frame, but I am getting dangerously close to powder coating this thing.

Tail Plastic


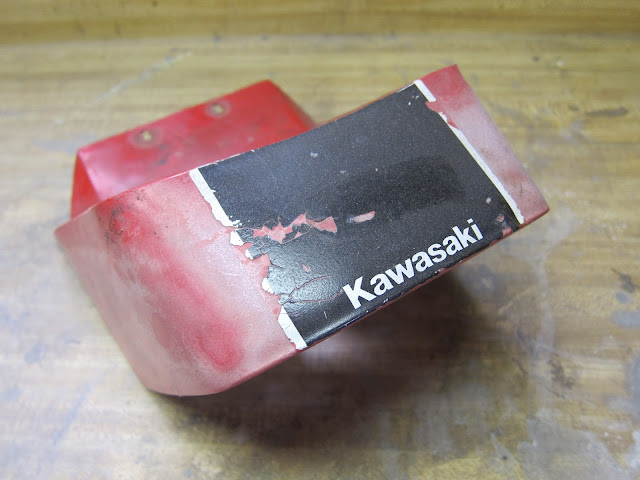
Stock Kawasaki AR80 tail plastic

I plan on reusing the AR80's plastic tail piece, but it needed to be cleaned up and modified for my new tail light.

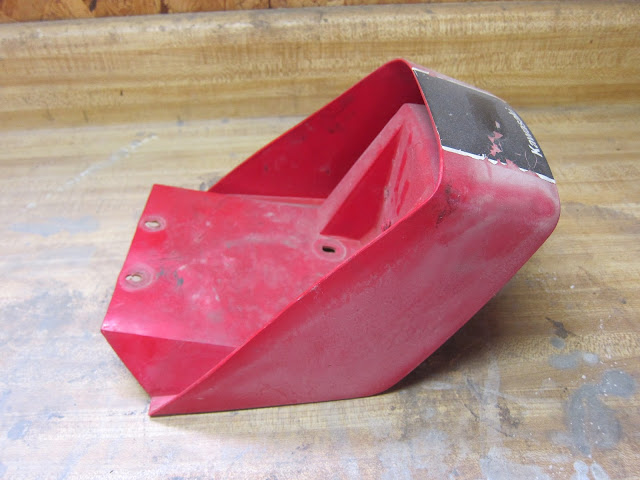
Stock Kawasaki AR80 tail plastic

Overall the plastic was in good structural shape.

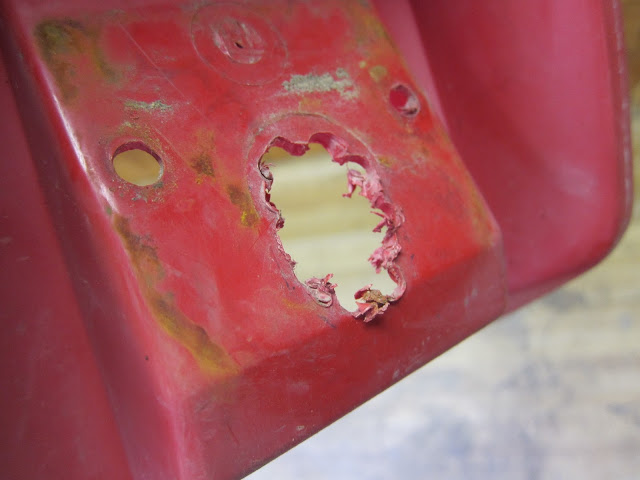
Stock Kawasaki AR80 tail light mounting holes.

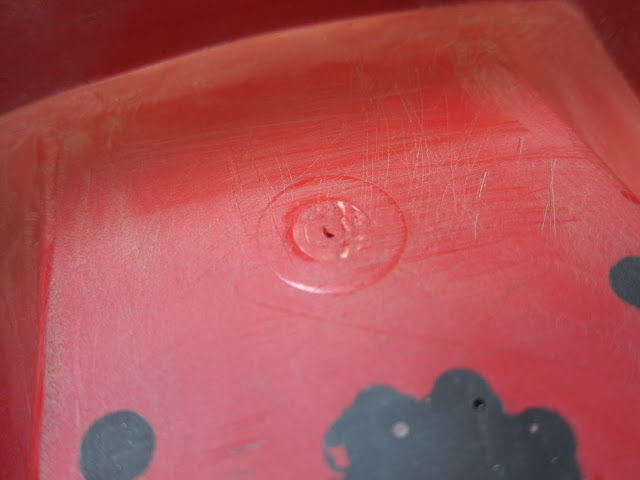
Except for this hole.  I don't think that was the stock hole for the stock tail light.  I'm not sure why the PO mangled it so badly.

Stock Kawasaki AR80 tail light mounting holes.

No biggie.  I planned on filling the stock mounting holes anyway because my taillight only needs a single small mounting hole.

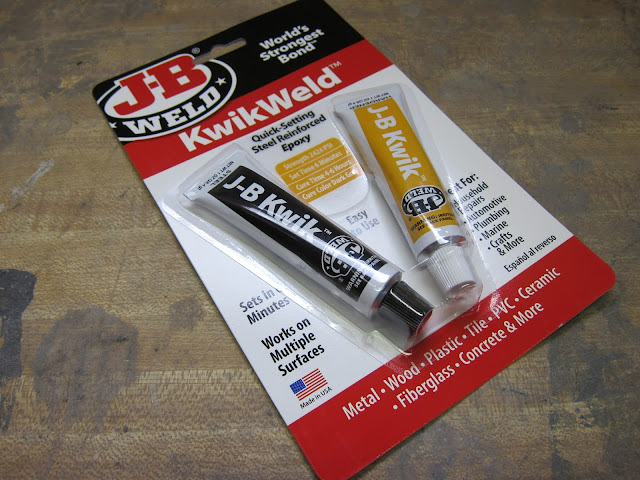
JB KwikWeld Epoxy

I bought some JB KwikWeld Epoxy to fill the old holes.

Duct tape.  What can't it do?

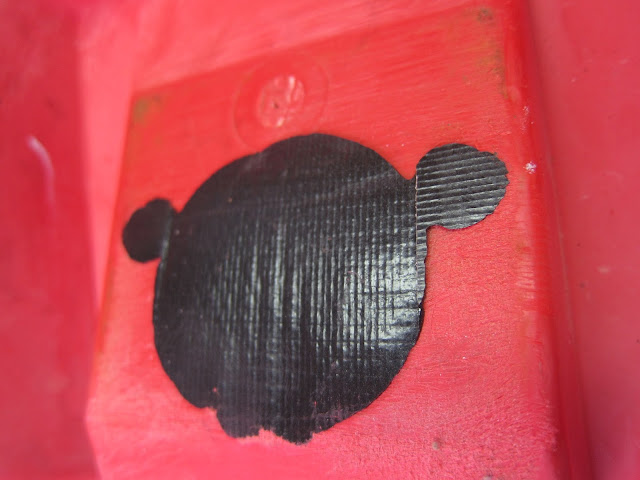
I put some duct tape over the old mounting holes.

Scuff it.

And scuffed up the inside plastic to give the epoxy something to hold on to.

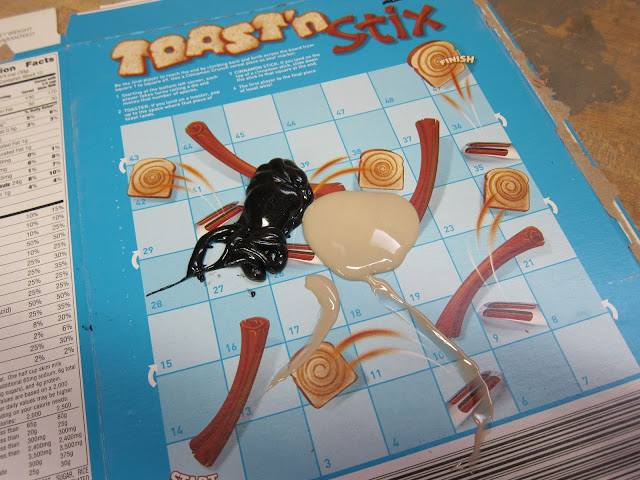
Mmmmm.  Generic cinnamon toast crunch.

Delicious

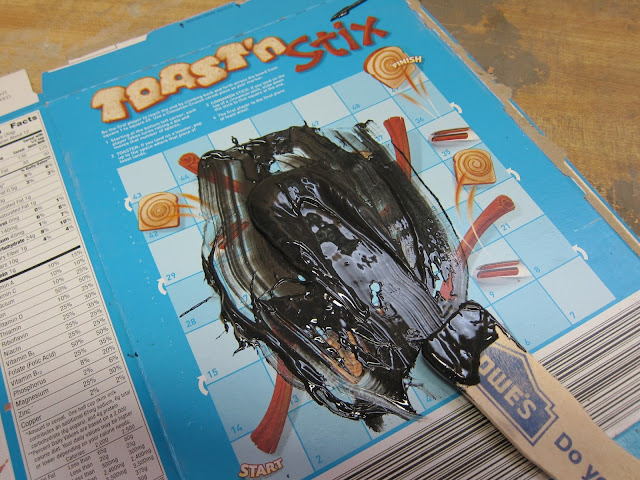
JB KwikWeld Epoxy

Once mixed I liberally slathered the epoxy over the old mounting holes.  I don't really care what it looks like on the inside so I wasn't particularly careful.

JB KwikWeld Epoxy

Once dried I pulled the duct tape off to see what I had.  Kind of a freaky Mickey Mouse.

JB KwikWeld Epoxy

After a bit of sanding I had this.  Nice an smooth.

What is this for?

Except for this . . . thing.
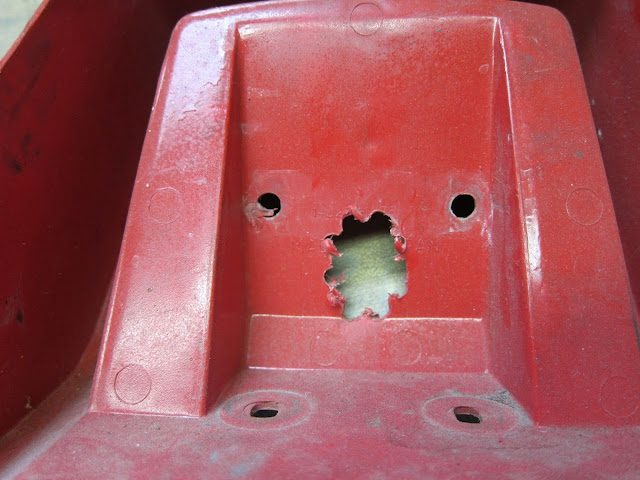
Bondo and JB fills all.

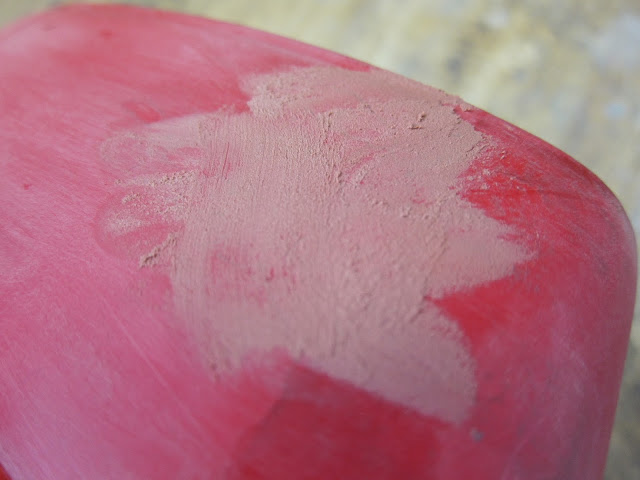
I used some body filler to fill it in, and then sanded it smooth.

AR80 tail plastic

There were a few other places that needed some work.

AR80 tail plastic

A little body filler and sanding took care of those as well.

Rust-oleum Plastic Primer

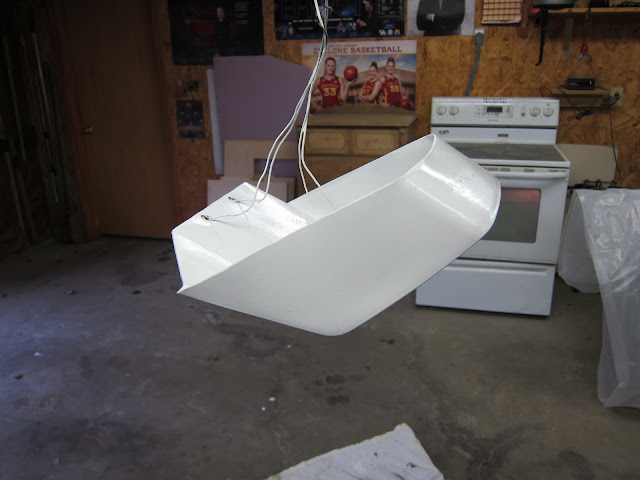
After things were fairly smooth it was time for some primer.  I grabbed some Rust-oleum Plastic Primer.

Rust-oleum Plastic Primer

Rust-oleum Plastic Primer

Rust-oleum Plastic Primer

It will definitely need some more sanding and prep before final paint, but it looks good for now.

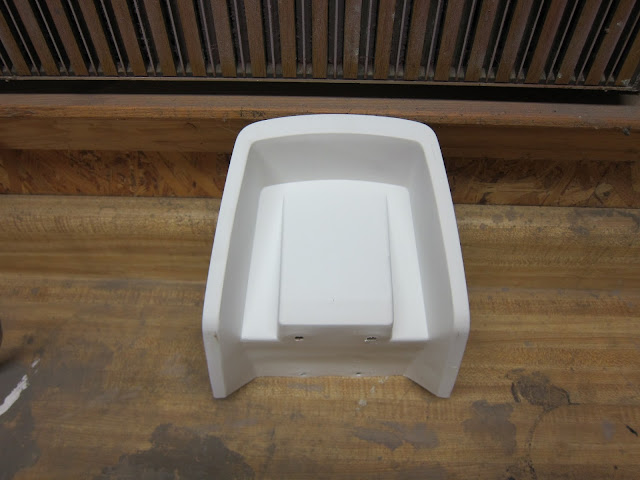
"Custom" Kawasaki AR80 tail plastic

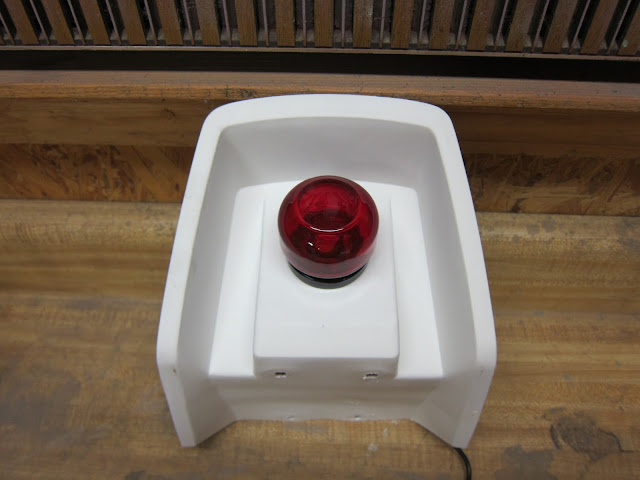
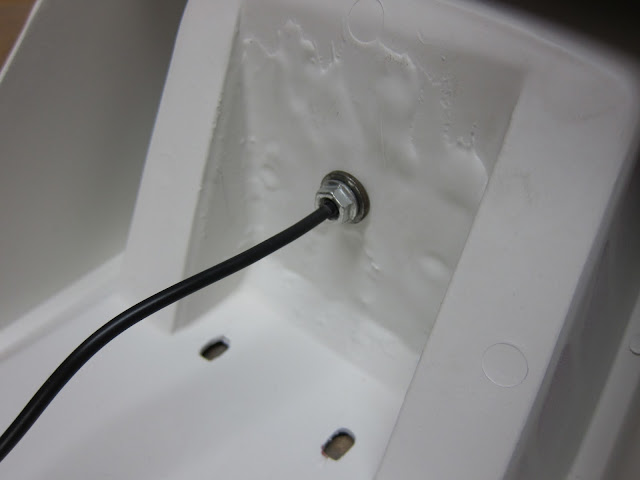
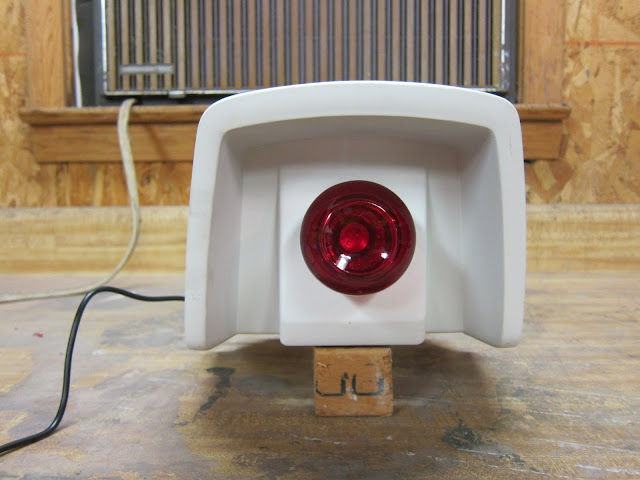
Finally, it was time to mount my new tail light.

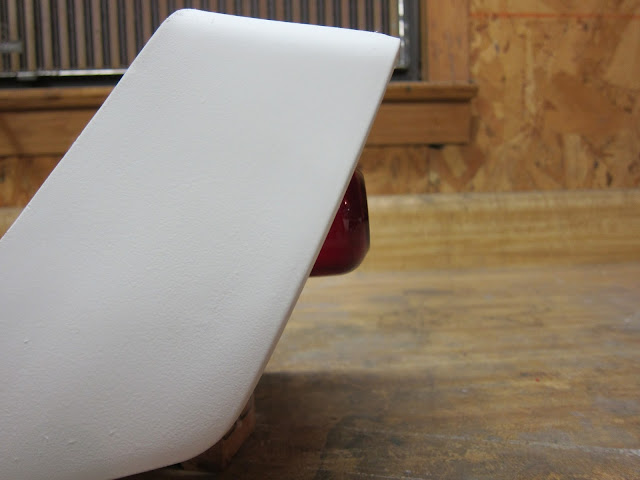
"Custom" Kawasaki AR80 tail plastic with pimiento jar tail light

Installed.

"Custom" Kawasaki AR80 tail plastic with pimiento jar tail light

One hole.  Nice and simple.

"Custom" Kawasaki AR80 tail plastic with pimiento jar tail light

"Custom" Kawasaki AR80 tail plastic with pimiento jar tail light

"Custom" Kawasaki AR80 tail plastic with pimiento jar tail light

I think it looks pretty good.