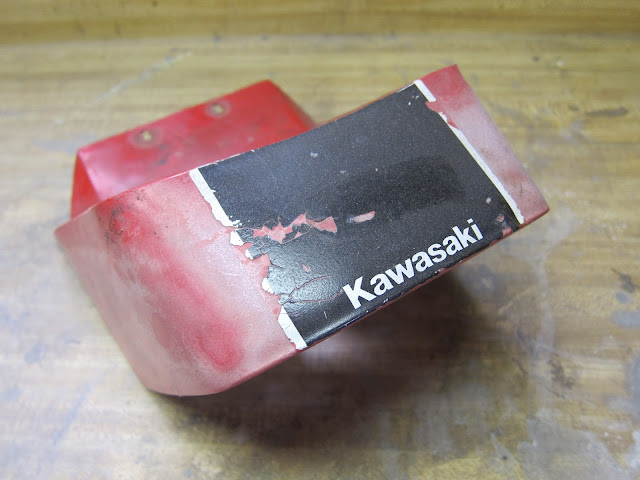
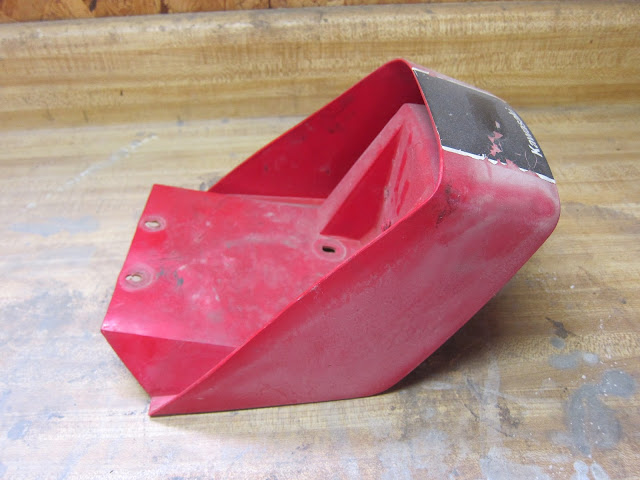
I plan on reusing the AR80's plastic tail piece, but it needed to be cleaned up and modified for my new tail light.
Overall the plastic was in good structural shape.
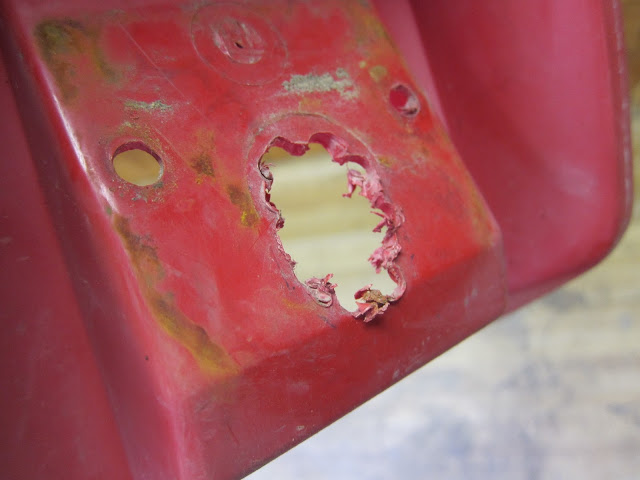
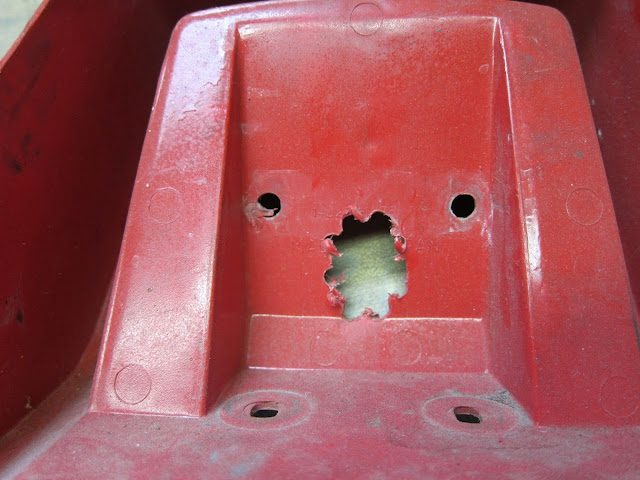
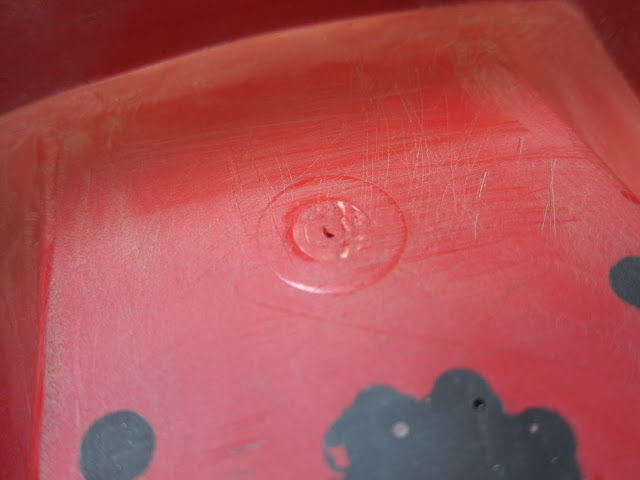
Except for this hole. I don't think that was the stock hole for the stock tail light. I'm not sure why the PO mangled it so badly.
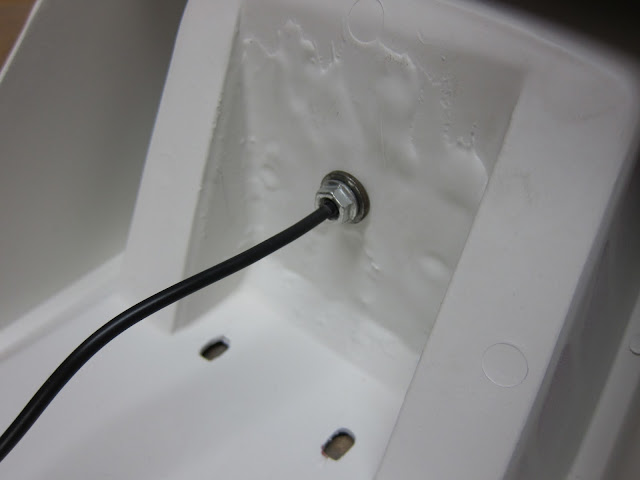
No biggie. I planned on filling the stock mounting holes anyway because my taillight only needs a single small mounting hole.
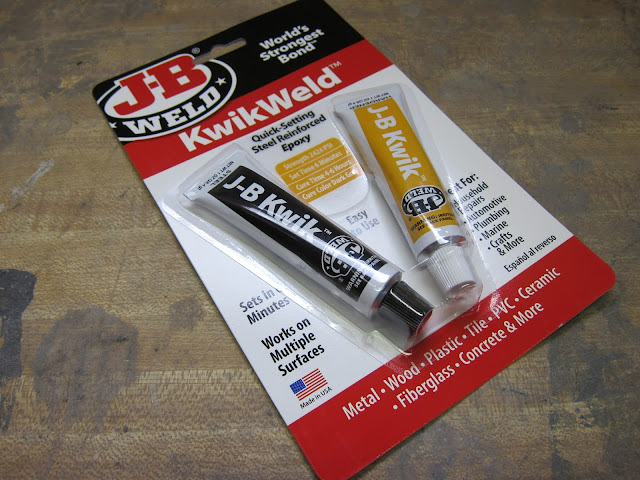
I bought some JB KwikWeld Epoxy to fill the old holes.
I put some duct tape over the old mounting holes.
And scuffed up the inside plastic to give the epoxy something to hold on to.
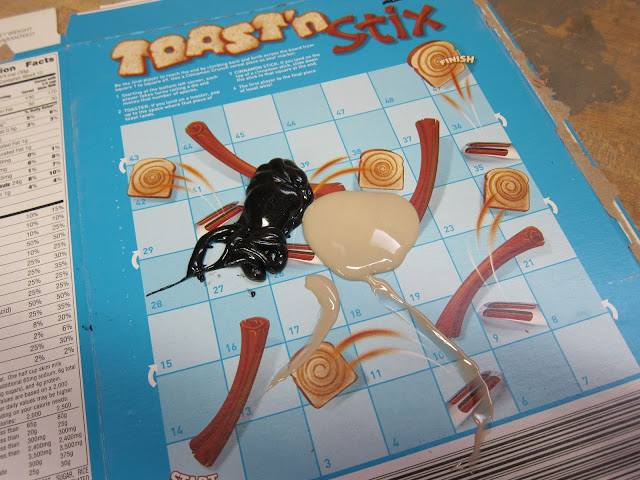
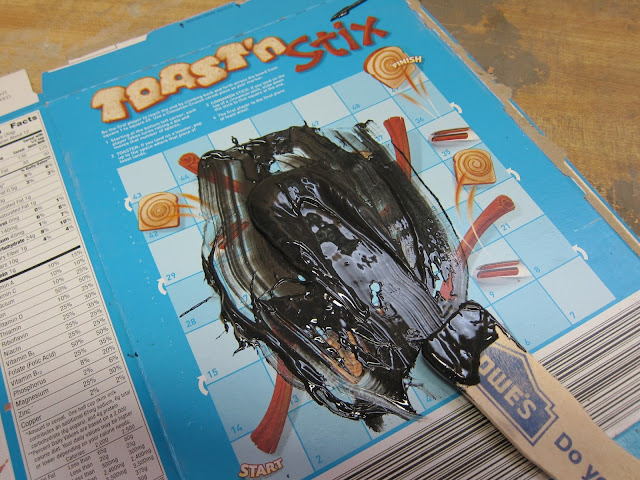
Once mixed I liberally slathered the epoxy over the old mounting holes. I don't really care what it looks like on the inside so I wasn't particularly careful.
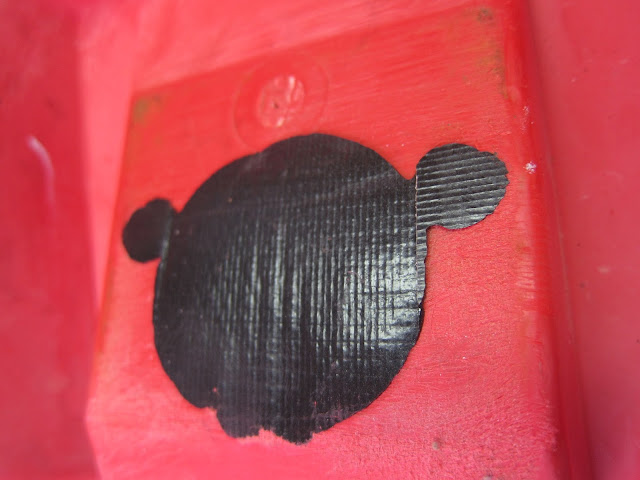
Once dried I pulled the duct tape off to see what I had. Kind of a freaky Mickey Mouse.
After a bit of sanding I had this. Nice an smooth.
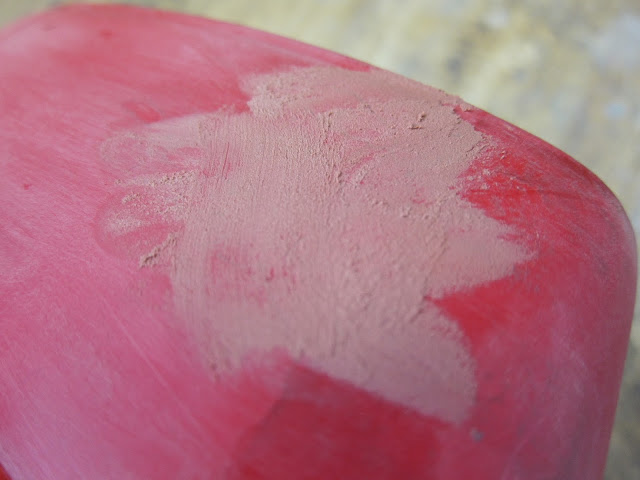
Except for this . . . thing.
I used some body filler to fill it in, and then sanded it smooth.
There were a few other places that needed some work.
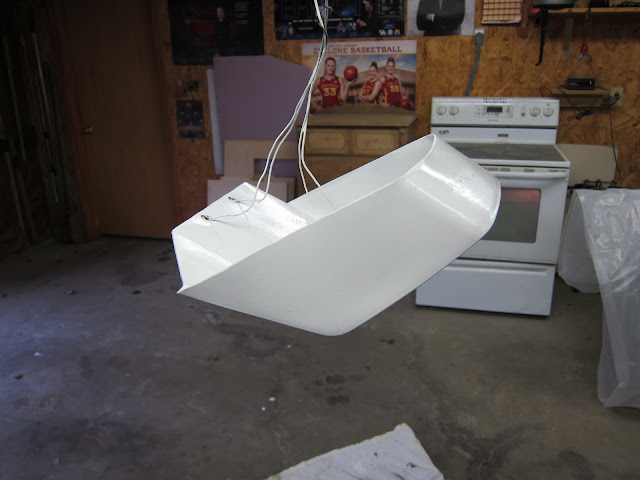
After things were fairly smooth it was time for some primer. I grabbed some Rust-oleum Plastic Primer.
It will definitely need some more sanding and prep before final paint, but it looks good for now.
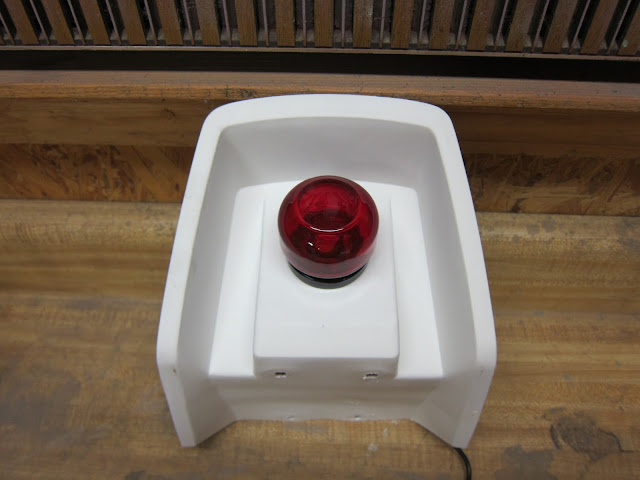
Finally, it was time to mount my new tail light.
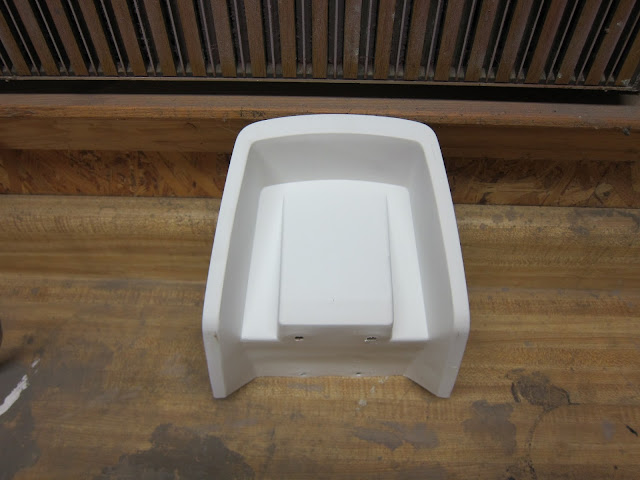
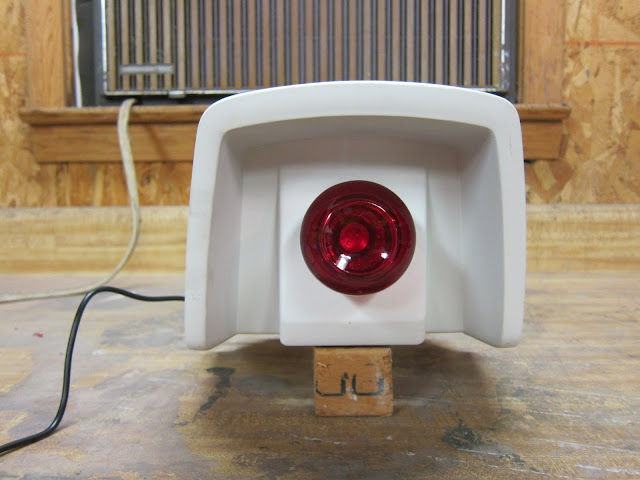
Installed.
One hole. Nice and simple.
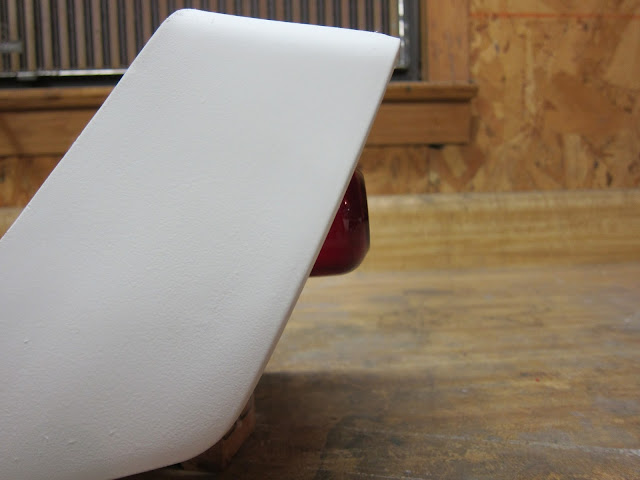
I think it looks pretty good.










Off topic, but just a little: you'll probably discover that your rear monoshock has lost its mojo, errr damping powers. Likely it has suffered a blown seal. You might consider alternatives: http://typobargains.com/mono_shock_absorber.html
ReplyDeleteThis guy used an Aprilia RS125 shock: http://www.2strokeworld.com/forum/index.php?topic=14857.msg122725#msg122725
When research showed that most of the replacement shocks cost more than I originally spent on the whole bike I decided to stick with the (cleaned up) stock one. At least for now.
ReplyDeleteI fear this project has fallen lower and lower among your priorities! Any progress? I rode my AR80 to a scooter rally this past Saturday, its inaugural ride. Unlike its last three trips to the dynamometer, it didn't blow up or shower the road with irreplaceable parts. I was surprised.
ReplyDeletePing!
ReplyDeleteGreat job, You are providing good knowledge. It is really helpful and factual information for us and everyone to increase knowledge. Continue sharing your data. Thank you. Welding Machine Price In India
ReplyDeleteThe advantages of using a Powder coating booth are many. Volatile organic compounds (VOCs), known to damage the environment, are not present in this paint. There are no dangerous components in its design, which means it is safe for the environment and the public's health. Using dry colors is advantageous since the government is more concerned about limiting pollution.
ReplyDelete